7 Pro EQ Tips
An EQ can be your main weapon for professional sounding mixes & masters if you master the art of equalization. It's the tool engineers use to amplify, attenuate and create space for instruments in the mix.
In this blog post, my goal is to show 7 Pro EQ tips that'll help you to achieve a bit more advanced equalization on your sounds and make better sounding mixes than you did in your last session.
Please avoid copying any strict values you see in this blog post because every single instrument/vocals/mix/master is different and will require different treatment.

Mid/Side EQ on a mix bus

FabFilter Pro Q3 with Side channel HPF activated
When equalizing a mix bus, we usually like to make our low end more mono, while expanding and widening the top end using our side channel shelf filter. Of course, you can use your mid channel filter to increase the impact of the kick or vocals for example. The goal to implementing this method correctly is to be selective in terms of frequency ranges & correct values of dB you're going to amplify/attenuate. Our advice is to avoid using steep filters when you're equalizing your mix bus.
Monitor frequency masking

Pro Q3 offers sidechaining feature which allows us to monitor masking via their spectrum analyzers
Using FabFilter Pro Q3, I can first use proper routing & sidechain feature to monitor where my instruments or vocals are masking. Full guide on how to set this up is available in our EQ Masterclass.Inverse EQ Method

The important things to consider while doing this are:
1. Which processing mode you're going to use?
2. How many bands are you going to leave on?
3. What should the amount will be on each of them?
4. Does it sound better than before?
Rich Mid-Range
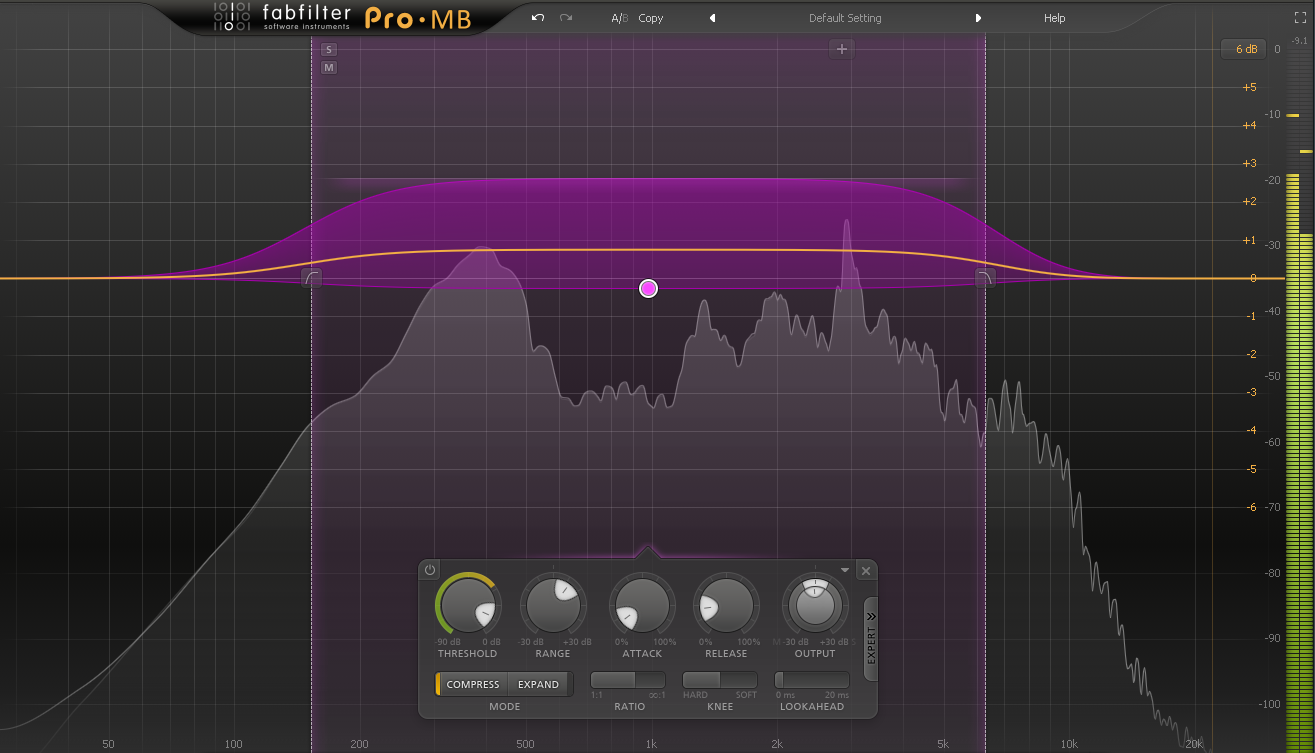
I created a parallel track and sent my signal to it. Each DAW features this feature, so it just might be slightly different to do it on each of the DAWs available on the market.

Parallel Air Band
I created a parallel track and routed my signal to it. The exact same first step as in the previous tip.


Left-Right processing method

Dynamic EQ

Conclusion:
Using an EQ to your advantage is crucial to make the mixes and masters sound commercial ready & professional overall. Master the art of equalization with us by getting our EQ Masterclass that features over 5 hours of video lessons. From beginner to pro!If you want to add a recommendation for the future blog post and get featured on, feel free to reach to our DM on Instagram or use our e-mail address: marko@md3sign.com
Learn more from our best-sellers!
-
Pro C2 Presets Pack
Original price $34.99Original price $34.99 - Original price $34.99Original price $34.99Current price $17.50$17.50 - $17.50Current price $17.50Presenting long-awaited "Pro C2 Presets Pack" - The Exceptional FabFilter Pro C2 presets to completely change the way you approach dynamics treatme...
View full detailsOriginal price $34.99Original price $34.99 - Original price $34.99Original price $34.99Current price $17.50$17.50 - $17.50Current price $17.50Save 50% -
Saturn 2 Presets Pack
Original price $34.99Original price $34.99 - Original price $34.99Original price $34.99Current price $17.50$17.50 - $17.50Current price $17.50Presenting "Saturn 2 Presets Pack" - The Mind-Blowing FabFilter Saturn 2 presets to completely change the way you approach saturation on your mixes...
View full detailsOriginal price $34.99Original price $34.99 - Original price $34.99Original price $34.99Current price $17.50$17.50 - $17.50Current price $17.50Save 50% -
Presets Bundle
Original price $140.00Original price $140.00 - Original price $140.00Original price $140.00Current price $64.99$64.99 - $64.99Current price $64.99This Bundle Deal includes: Pro C2 Preset PackSaturn 2 Preset PackPro MB Preset PackEQ Preset Pack
Original price $140.00Original price $140.00 - Original price $140.00Original price $140.00Current price $64.99$64.99 - $64.99Current price $64.99Save 54% -
EQ + Compression Bundle
Original price $199.99Original price $199.99 - Original price $199.99Original price $199.99Current price $125.00$125.00 - $125.00Current price $125.00This Bundle Deal includes: The Art Of Compression:260+ pages of detailed explanationsBeginner to ProGraphic illustrationsSecret techniques used by ...
View full detailsOriginal price $199.99Original price $199.99 - Original price $199.99Original price $199.99Current price $125.00$125.00 - $125.00Current price $125.00Save 37% -
EQ Masterclass
Original price $100.00 - Original price $100.00Original price$100.00$100.00 - $100.00Current price $100.00Beginner to Pro lessons Everything you don't understand about Equalization is explained through 5h+ long Masterclass split in 28 well edited video...
View full detailsOriginal price $100.00 - Original price $100.00Original price$100.00$100.00 - $100.00Current price $100.00

