7 Vocal EQ Ranges
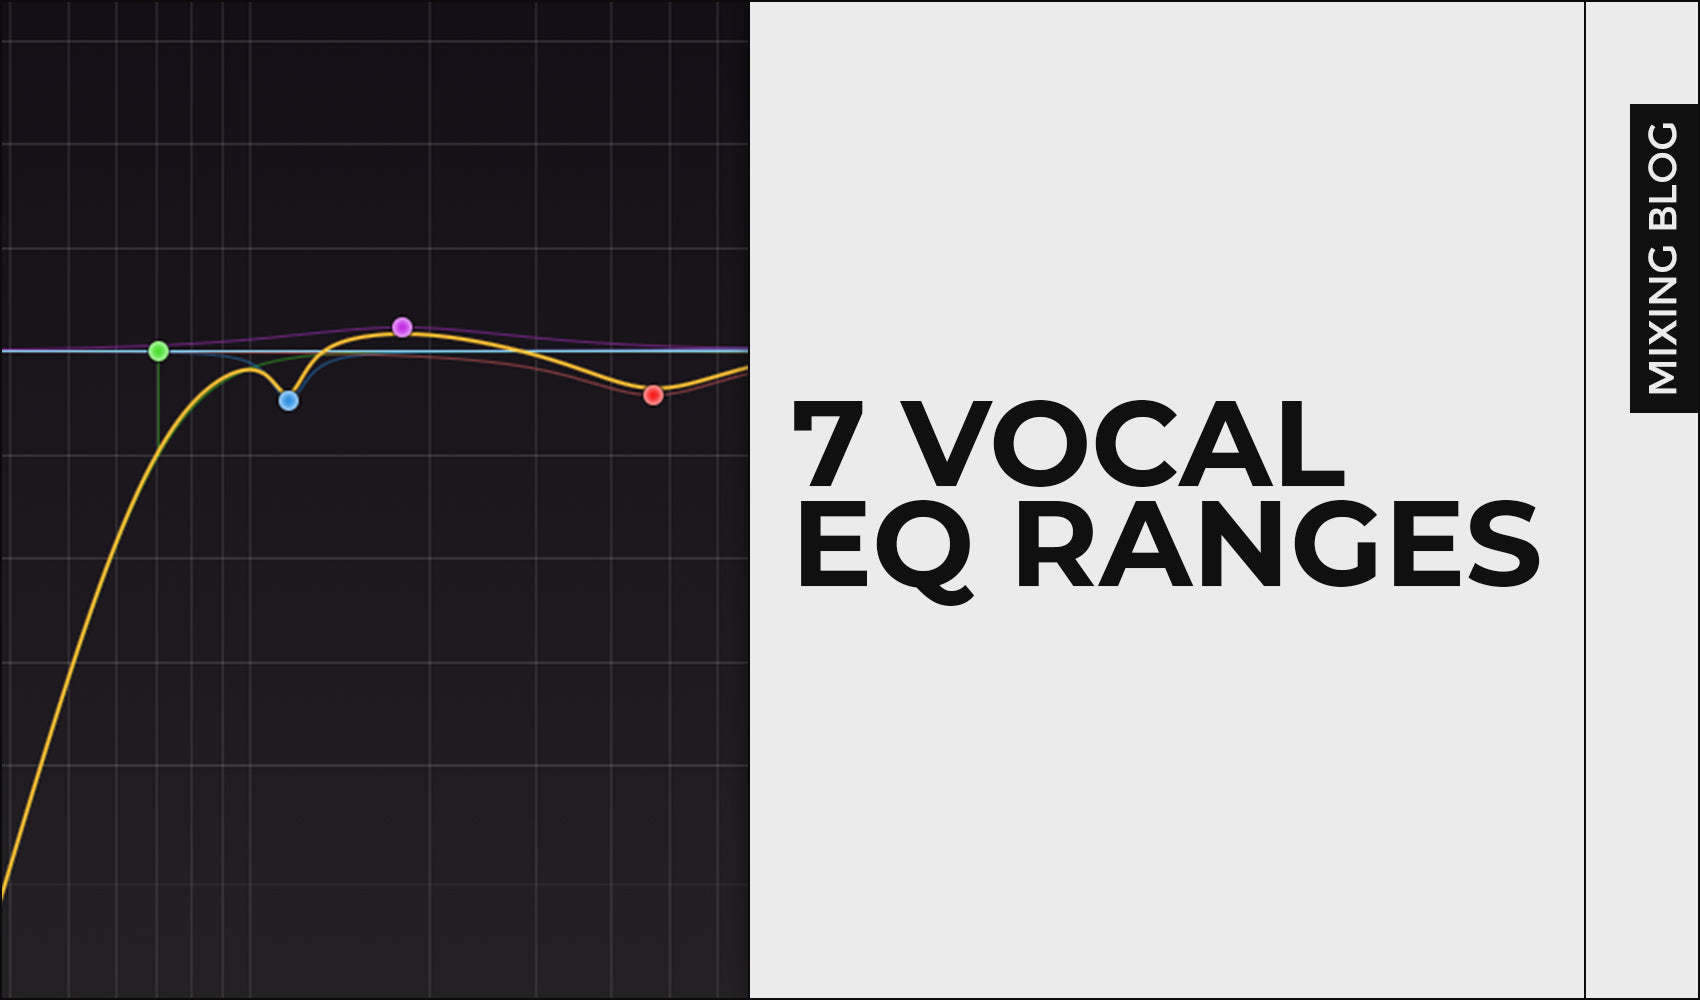
Equalizing a vocal properly can be time consuming and an overall nightmare. However, take a look at these 7 EQ ranges that can benefit the performance of your vocals.
That's why I'm going to explain how to EQ your vocals for the best possible performance in this blog post.

0-80Hz
Up to 60-80Hz is where you want to place your high-pass filter on vocals. Under this frequency range there's not really anything you need in your vocals. Rumbling frequencies are located there which occur due to possible noise from the floor while recording or other factors, so that's the reason you don't want them in your recordings. The goal is to make the vocals sound clean. In terms of slope, I wouldn't advise to go for 48dB/oct or even brickwall since those cuts won't sound anywhere close to natural.

100-200Hz
Around this frequency range, you can find resonant frequencies (ringing points) that usually "destroy" vocal takes. By gently attenuating them, you can reduce their impact on the quality and potential of your vocal recordings. Don't cut too much in terms of dB. Instead, stay within the safe zone. Slight cuts can make a lot of difference.

150-250Hz
Wide bell boost around this frequency range can enhance warmth to your vocals which will at the same time make them sounding much fuller. There's also a negative side of doing this in this frequency range. By boosting this area without any intentions, you can make the vocals sounding boomy (more low end and power than it's really needed). Be very careful with your decisions.

500Hz Range
Set your EQ filter around 500Hz and solo it. Now, monitor how that frequency range sounds in solo. If you can notice boxiness, that means you should gently attenuate this range. Now, switch back to regular and listen the whole frequency range while still partially soloing this range. It's very important to identify if the boxiness is really happening on the vocals. If it is, gentle attenuation can benefit the vocal and make it sounding much cleaner.

1-2kHz

5-9kHz

10kHz+

Learn more from our best-sellers!
-
Pro C2 Presets Pack
Original price $34.99Original price $34.99 - Original price $34.99Original price $34.99Current price $17.50$17.50 - $17.50Current price $17.50Presenting long-awaited "Pro C2 Presets Pack" - The Exceptional FabFilter Pro C2 presets to completely change the way you approach dynamics treatme...
View full detailsOriginal price $34.99Original price $34.99 - Original price $34.99Original price $34.99Current price $17.50$17.50 - $17.50Current price $17.50Save 50% -
Saturn 2 Presets Pack
Original price $34.99Original price $34.99 - Original price $34.99Original price $34.99Current price $17.50$17.50 - $17.50Current price $17.50Presenting "Saturn 2 Presets Pack" - The Mind-Blowing FabFilter Saturn 2 presets to completely change the way you approach saturation on your mixes...
View full detailsOriginal price $34.99Original price $34.99 - Original price $34.99Original price $34.99Current price $17.50$17.50 - $17.50Current price $17.50Save 50% -
Presets Bundle
Original price $140.00Original price $140.00 - Original price $140.00Original price $140.00Current price $64.99$64.99 - $64.99Current price $64.99This Bundle Deal includes: Pro C2 Preset PackSaturn 2 Preset PackPro MB Preset PackEQ Preset Pack
Original price $140.00Original price $140.00 - Original price $140.00Original price $140.00Current price $64.99$64.99 - $64.99Current price $64.99Save 54% -
EQ + Compression Bundle
Original price $199.99Original price $199.99 - Original price $199.99Original price $199.99Current price $125.00$125.00 - $125.00Current price $125.00This Bundle Deal includes: The Art Of Compression:260+ pages of detailed explanationsBeginner to ProGraphic illustrationsSecret techniques used by ...
View full detailsOriginal price $199.99Original price $199.99 - Original price $199.99Original price $199.99Current price $125.00$125.00 - $125.00Current price $125.00Save 37% -
EQ Masterclass
Original price $100.00 - Original price $100.00Original price$100.00$100.00 - $100.00Current price $100.00Beginner to Pro lessons Everything you don't understand about Equalization is explained through 5h+ long Masterclass split in 28 well edited video...
View full detailsOriginal price $100.00 - Original price $100.00Original price$100.00$100.00 - $100.00Current price $100.00

