7 Pro Tips For LOUDNESS! 🔥
Did anyone tell you that your mix sounds "thin" and "quiet"? I know how that feels and how you reacted, since that happened to me many times in the past. However, we're here to change that, right?
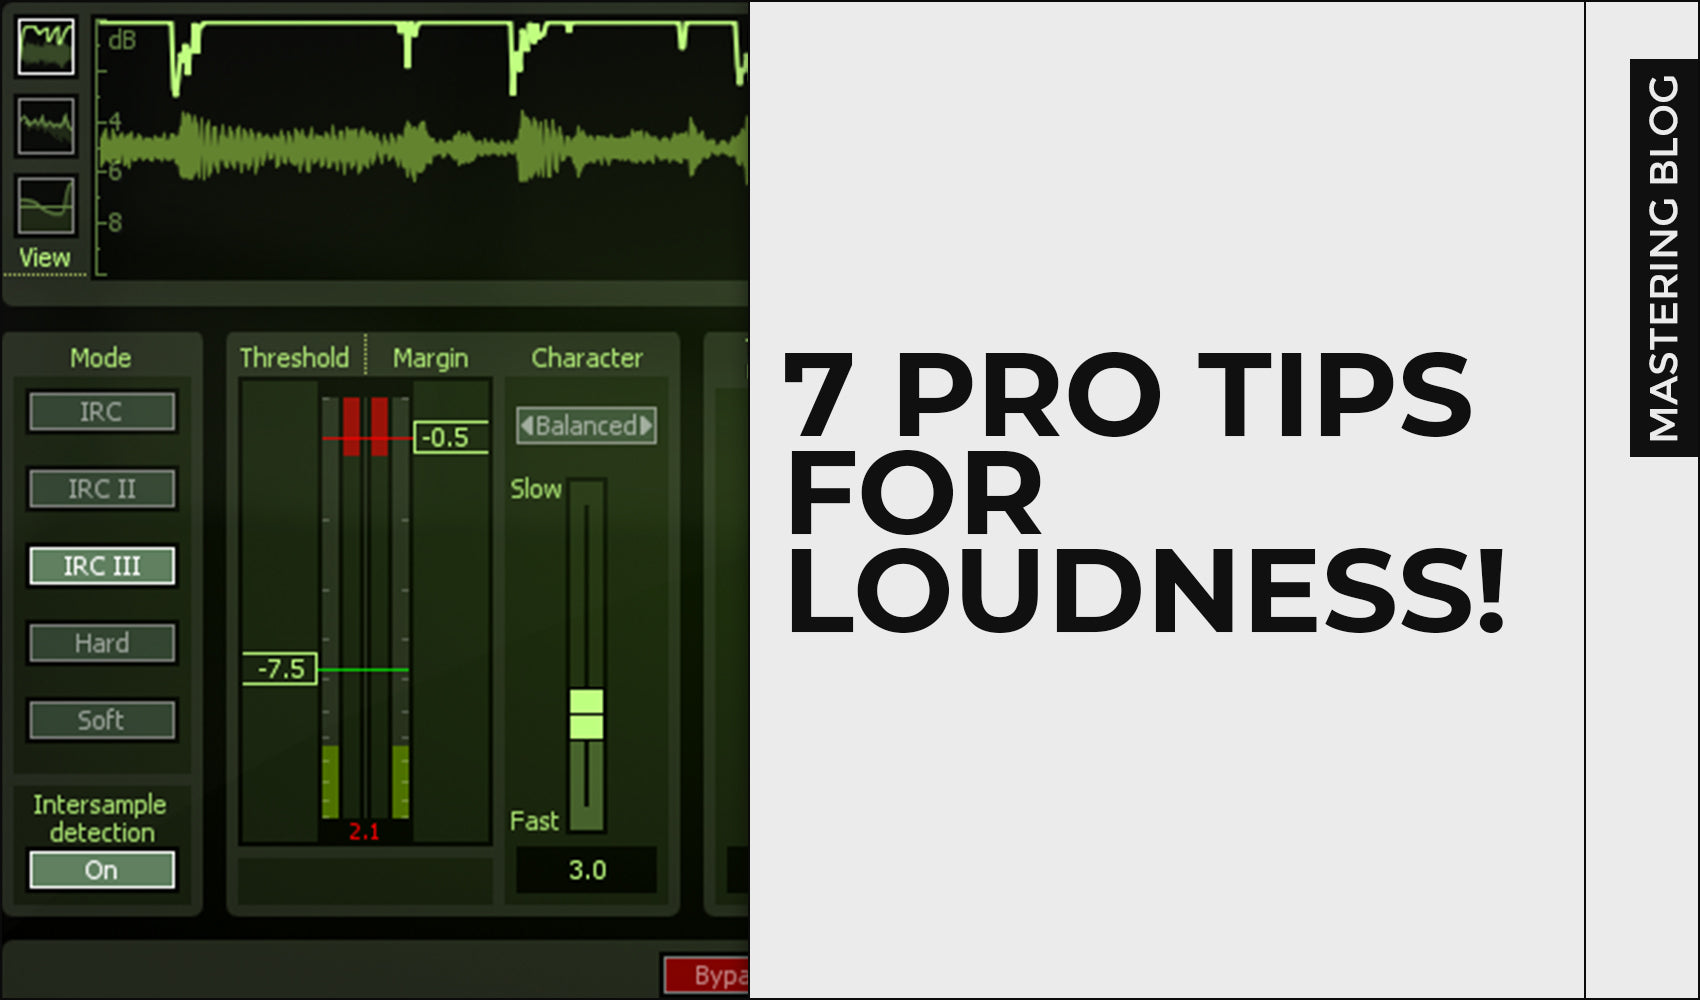
In this blog post, my goal is to show you 7 Pro tips you can use in your next sessions to achieve louder & cleaner mixes and masters.

What makes a mix or master loud?
I often see people focusing on Peak & LUFS values mostly, but these are not the only indicators that'll help you to achieve loudness. Overall spectral balance, proper gain staging, compression, equalization, clipping, limiting, imaging etc. makes a mix/master loud.
So, on which values should you focus mainly? Instead of monitoring only Peak & LUFS, pay an additional attention to your RMS value. LUFS value can go even to -6 but your mixes will sound quiet. You should question yourself why that happens.
Good LUFS, but quiet mix? What's the problem?
If you didn't treat your low end frequencies well at mixing or mastering stage, they can take a lot of your headroom which you're I believe familiar with. However, low frequencies carry a lot of energy. If there's too much energy in the low end (which isn't treated well), that energy will push the LUFS to go to even -6 or greater, but your master will sound quiet. Why? Because your track becomes overfilled with low end (becomes boomy).
RMS & LUFS relationship is important!
I will highly suggest to monitor LUFS and RMS at the same time. What are their values? If your RMS and LUFS value are the same (let's say -10), that means your track is not balanced well. There's too much low end energy there which keeps the RMS around -10 (in this example) and LUFS value much different (-6 in this example).
The worst case that can happen is this: -10 RMS, -6 LUFS. This is terrible and your master won't sound quiet. But yes, there are ways to fix this. You'll need to get back into mixing and do the mixing much different.
The good case and also my aiming point when mixing and mastering is this: Between -8 & -6 LUFS, -4 to -4.5 RMS. These are healthy values and if your track has these values, it's surely loud enough. However, don't stick to any straight points since each track is different and should be treated accordingly to taste & clients' requests.
Now, once we covered the importance of knowing why you should pay additional attention to RMS value, let's jump into 7 Pro tips to make your mixes & master loud.
Tip 1: Deal With The Low End

FabFilter Pro Q3 - Mid/Side Mode
Tip 2: Use 2 Limiters

Tip 3: Expander Between The Limiters


Tip 4: Use A Faster Release Time

Tip 5: Try Maximizers

Tip 6: Upward Compression

Tip 7: Use Acustica's ASH

Want Part 2?
As you probably know, I have a lot more advices and techniques for achieving loudness, in both analog and digital world. So, if you want me to make part 2, let me know via my mail address or DM me on Instagram. Our staff will forward your message to me.If you want to add a recommendation for the future blog post and get featured on, feel free to reach to our DM on Instagram or use our e-mail address: marko@md3sign.com
Learn more from our best-sellers!
-
Pro C2 Presets Pack
Original price $17.50 - Original price $17.50Original price$17.50$17.50 - $17.50Current price $17.50Presenting long-awaited "Pro C2 Presets Pack" - The Exceptional FabFilter Pro C2 presets to completely change the way you approach dynamics treatme...
View full detailsOriginal price $17.50 - Original price $17.50Original price$17.50$17.50 - $17.50Current price $17.50 -
Saturn 2 Presets Pack
Original price $17.50 - Original price $17.50Original price$17.50$17.50 - $17.50Current price $17.50Presenting "Saturn 2 Presets Pack" - The Mind-Blowing FabFilter Saturn 2 presets to completely change the way you approach saturation on your mixes...
View full detailsOriginal price $17.50 - Original price $17.50Original price$17.50$17.50 - $17.50Current price $17.50 -
Presets Bundle
Original price $64.99 - Original price $64.99Original price$64.99$64.99 - $64.99Current price $64.99This Bundle Deal includes: Pro C2 Preset PackSaturn 2 Preset PackPro MB Preset PackEQ Preset Pack
Original price $64.99 - Original price $64.99Original price$64.99$64.99 - $64.99Current price $64.99 -
EQ + Compression Bundle
Original price $125.00 - Original price $125.00Original price$125.00$125.00 - $125.00Current price $125.00This Bundle Deal includes: The Art Of Compression:260+ pages of detailed explanationsBeginner to ProGraphic illustrationsSecret techniques used by ...
View full detailsOriginal price $125.00 - Original price $125.00Original price$125.00$125.00 - $125.00Current price $125.00 -
EQ Masterclass
Original price $100.00 - Original price $100.00Original price$100.00$100.00 - $100.00Current price $100.00Beginner to Pro lessons Everything you don't understand about Equalization is explained through 5h+ long Masterclass split in 28 well edited video...
View full detailsOriginal price $100.00 - Original price $100.00Original price$100.00$100.00 - $100.00Current price $100.00


