Punchy & Tight Drums Technique
There are plenty different ways to make drums punchy, all the way from equalization, compression and other ways to dynamically treat drums. However, there's a technique that allows us to make them punchy, tight and louder at the same time without taking the headroom.
In this blog, I'll be showing you how to use a combination of three plugins in order to make your drums feel much louder, punchier and tighter at the same time.
The plugins we're going to use for this purpose:
1. SSL Bus Compressor 2
2. Sonic Anomaly Transpire
3. FabFilter Pro L2

Step 1: Compression
Using SSL Bus Compressor 2, my goal is to tighten the dynamics and achieve consistency without overdoing any processing. You can use any VCA compressor for this purpose.
Recommended settings (starting points):
1. Slow attack (10-30ms)
2. Fast release (80-200ms)
3. 2:1 Ratio
4. High-pass filter at 90-100Hz
5. Up to 4dB of gain reduction
6. Make up gain to compensate for loudness differences

Step 2: Transient designer
This step is very straight forward and simple. The goal here is to only increase the initial attack of your drums. So, you can do it with ease by increasing the very first knob in Transpire. My advice is to avoid overdoing it since this plugin is very powerful. As you can see, a very small amount did a great job.
Now look at the headroom you have left. This plugin raised the peak level, right? We're fixing that in the next step.

Step 3: Limiting
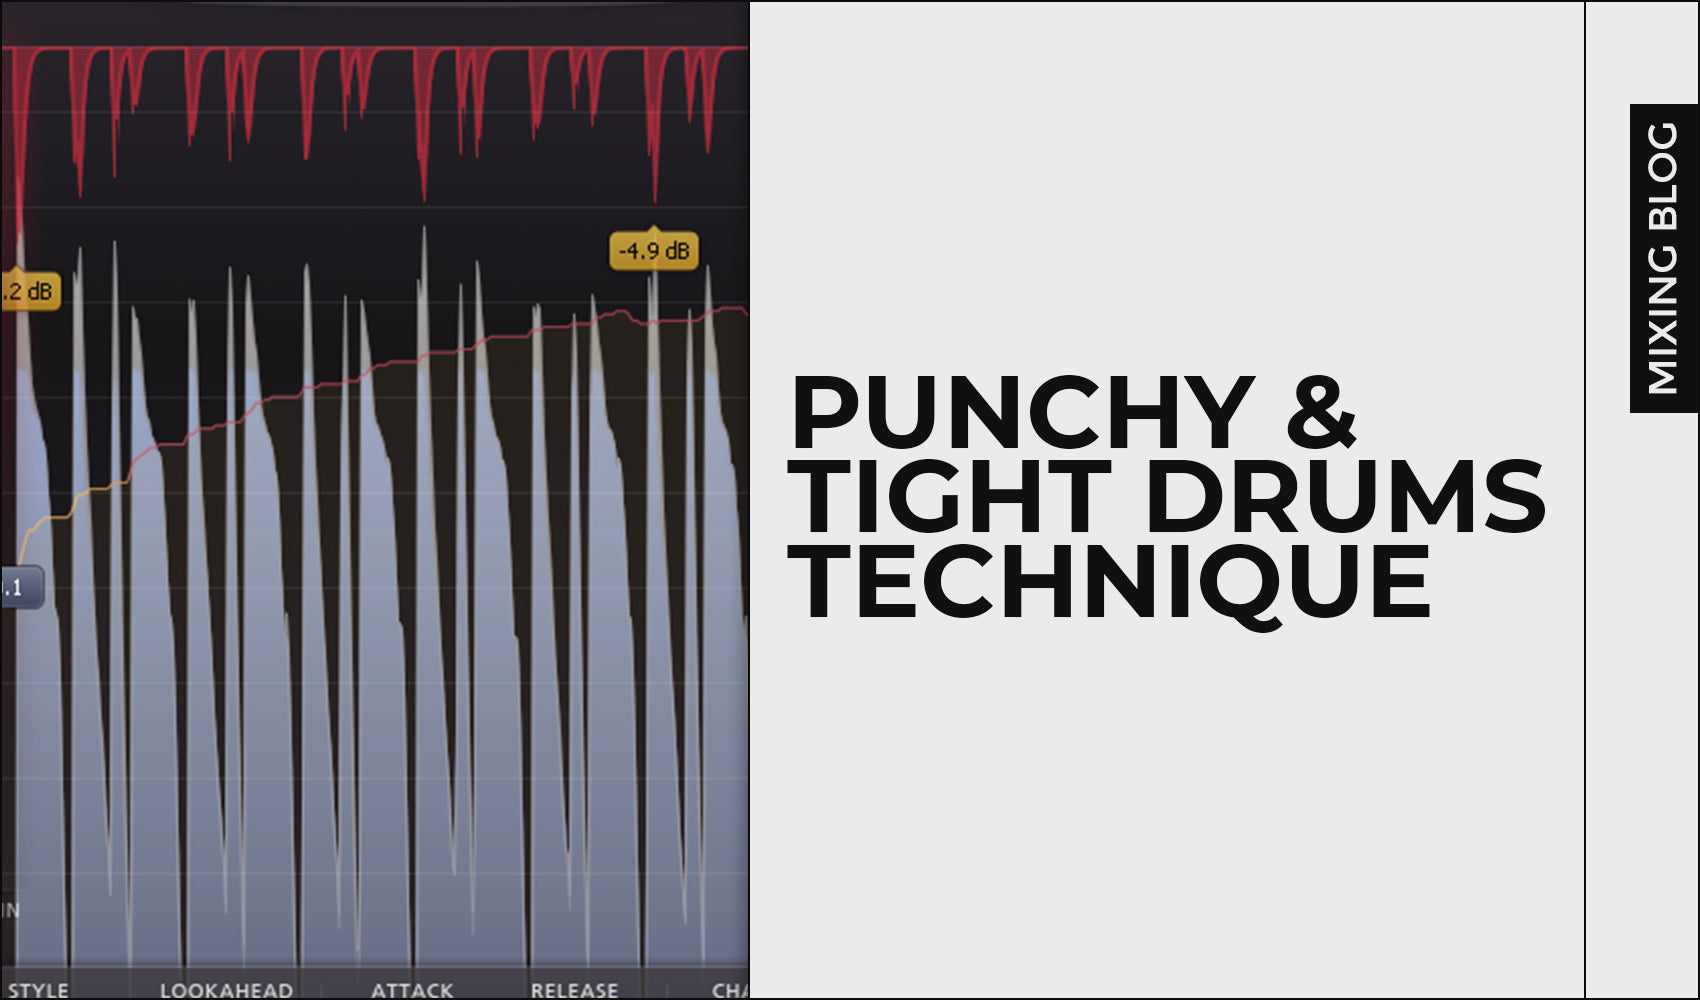
Now, this is where we make art. I'm actually going to use something between clipping and limiting with Pro L2. First, make the attack slow as possible (all the way to the right). Next, make the release as fast as possible (all the way to the left). We're making the attack slow as possible so it can let those transients punch through without chopping them off completely.
FabFilter Pro L2 also offers channel linking feature which can be great for mastering purpose, but for drums, I like to keep it off. By keeping it off, I'm telling Pro L2 to individually limit my left and right channel which is the exact effect I'm looking for. This can cause distortion if you're not careful, so have that in mind.
In terms of style, I went for "Punchy" since that's what we're looking for, right?
Now, activate Unity Gain on (1:1 button that can be located at the bottom right corner where the output gain feature is). Unity gain will tell the limiter to compensate for loudness differences, so you won't be able to trick your ears by "louder is better". This will also help you to actually hear the limiting and what's it doing to your drums.
Final step is to increase gain and notice the differences. As you increase, you'll get to the point where your drums become more consistent, tight and punchy at the same time.
Now, look at your peak level. You have a plenty of headroom left, but your drums are more powerful, punchy, tight and consistent at the same time.

With EQ MASTERCLASS you will:
- Learn all the necessary fundamentals of music equalization
- Understand why is equalization important
- Learn how to use equalization as your biggest weapon for powerful mixes
- Attend Beginner to Pro lessons (5+ hours of video content)
- Test your knowledge after each lesson through quizzes
- Learn advanced EQ tricks used by pros
- Receive unique EQ presets made during the classes
- Receive 160+ pages EQ Book
Learn more from our best-sellers!
-
Pro C2 Presets Pack
Original price $17.50 - Original price $17.50Original price$17.50$17.50 - $17.50Current price $17.50Presenting long-awaited "Pro C2 Presets Pack" - The Exceptional FabFilter Pro C2 presets to completely change the way you approach dynamics treatme...
View full detailsOriginal price $17.50 - Original price $17.50Original price$17.50$17.50 - $17.50Current price $17.50 -
Saturn 2 Presets Pack
Original price $17.50 - Original price $17.50Original price$17.50$17.50 - $17.50Current price $17.50Presenting "Saturn 2 Presets Pack" - The Mind-Blowing FabFilter Saturn 2 presets to completely change the way you approach saturation on your mixes...
View full detailsOriginal price $17.50 - Original price $17.50Original price$17.50$17.50 - $17.50Current price $17.50 -
Presets Bundle
Original price $64.99 - Original price $64.99Original price$64.99$64.99 - $64.99Current price $64.99This Bundle Deal includes: Pro C2 Preset PackSaturn 2 Preset PackPro MB Preset PackEQ Preset Pack
Original price $64.99 - Original price $64.99Original price$64.99$64.99 - $64.99Current price $64.99 -
EQ + Compression Bundle
Original price $125.00 - Original price $125.00Original price$125.00$125.00 - $125.00Current price $125.00This Bundle Deal includes: The Art Of Compression:260+ pages of detailed explanationsBeginner to ProGraphic illustrationsSecret techniques used by ...
View full detailsOriginal price $125.00 - Original price $125.00Original price$125.00$125.00 - $125.00Current price $125.00 -
EQ Masterclass
Original price $100.00 - Original price $100.00Original price$100.00$100.00 - $100.00Current price $100.00Beginner to Pro lessons Everything you don't understand about Equalization is explained through 5h+ long Masterclass split in 28 well edited video...
View full detailsOriginal price $100.00 - Original price $100.00Original price$100.00$100.00 - $100.00Current price $100.00


