Mastering Equalization: Mid/Side EQ in Mastering
Each master is unique, so does the whole process of equalization in mastering. However, we'll be taking a look into one of our mastering session - precisely at our EQ and how we applied it. Our goal is to explain what were our thoughts during making these judgements and how we came up with the values we'll be explaining now.
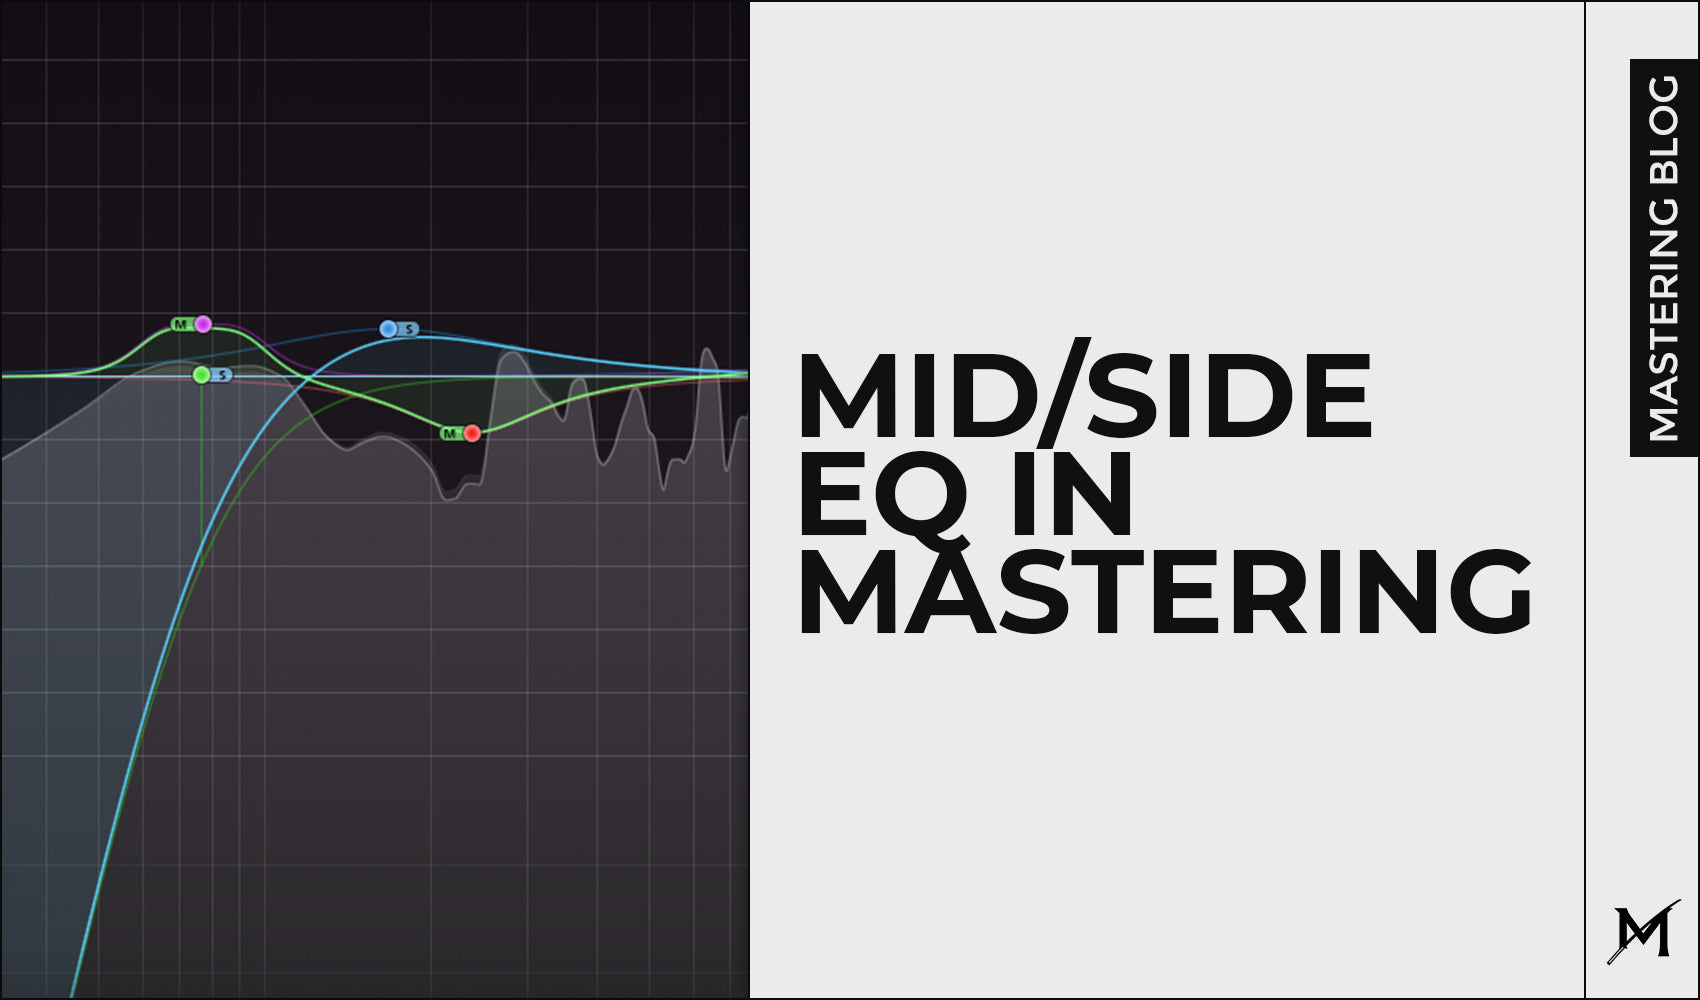
In this session, we'll be focusing on using FabFilter Pro Q3, but in Mid/Side mode only, so this is basically a Mid/Side equalization. Don't worry, we'll make more blog post explaining a different mastering equalizers and how to use them.
Please avoid copying any strict values you see in this blog post because every single master is different and will require different treatment.

1. Choose the right processing mode first

Advice: Try both Natural & Linear Phase mode to see which one suits your master better
Linear Phase mode is totally a different story. This mode will enable you to still make boost or cuts, but those adjustments won't affect the phase of your signal at all, and that's why it's mostly used when mastering. Every change in phase you make during mastering won't affect one instrument, but all of them, so that's why this processing mode has a privilege in mastering. However, the only bad thing about this mode is "Pre-ringing" effect that it causes. We covered more about this in our EQ Masterclass which you can check out.
2. Narrowing the stereo field of lower frequencies

Using a high pass filter in side mode
Our advice is to absolutely try both filter and hear which one works better for your session. The goal here is to be gentle and to carefully listen. Make judgements depending on what you hear, not what you see.
3. Amplifying low harmonics

Using bell filter in side mode
Using our bell filter in side mode, we enhanced some low harmonics that we found sounding nice in this session. Again, this is all optional, so please avoid copying any values from here. This is all up to listening and how it sounds. Certainly, it worked very well for this track we mastered. When boosting, we usually aim for wider boosts since they sound more natural and that boost actually spreads much better across the track.
4. Making space for high frequencies to shine

Using bell filter in mid mode
5. Achieving punch

Using bell filter in mid mode
6. More focus on vocals

Using the combination of our bell filter in mid mode and our bell filter in side mode
With this step done, we added more focus to our vocals and presence while also narrowing this range so it's more focused and "in your face".
7. Widening the top end

Using our shelf filter in side mode
Conclusion:
Mastering is art, and the way you should work is to carefully listen and take your time to make good judgements. Try different settings on each processor you use and decide which one suits your master the best.If you want to add a recommendation for the future blog post and get featured on, feel free to reach to our DM on Instagram or use our e-mail address: marko@md3sign.com
Learn more from our best-sellers!
-
Pro C2 Presets Pack
Original price $34.99Original price $34.99 - Original price $34.99Original price $34.99Current price $17.50$17.50 - $17.50Current price $17.50Presenting long-awaited "Pro C2 Presets Pack" - The Exceptional FabFilter Pro C2 presets to completely change the way you approach dynamics treatme...
View full detailsOriginal price $34.99Original price $34.99 - Original price $34.99Original price $34.99Current price $17.50$17.50 - $17.50Current price $17.50Save 50% -
Saturn 2 Presets Pack
Original price $34.99Original price $34.99 - Original price $34.99Original price $34.99Current price $17.50$17.50 - $17.50Current price $17.50Presenting "Saturn 2 Presets Pack" - The Mind-Blowing FabFilter Saturn 2 presets to completely change the way you approach saturation on your mixes...
View full detailsOriginal price $34.99Original price $34.99 - Original price $34.99Original price $34.99Current price $17.50$17.50 - $17.50Current price $17.50Save 50% -
Presets Bundle
Original price $140.00Original price $140.00 - Original price $140.00Original price $140.00Current price $64.99$64.99 - $64.99Current price $64.99This Bundle Deal includes: Pro C2 Preset PackSaturn 2 Preset PackPro MB Preset PackEQ Preset Pack
Original price $140.00Original price $140.00 - Original price $140.00Original price $140.00Current price $64.99$64.99 - $64.99Current price $64.99Save 54% -
EQ + Compression Bundle
Original price $199.99Original price $199.99 - Original price $199.99Original price $199.99Current price $125.00$125.00 - $125.00Current price $125.00This Bundle Deal includes: The Art Of Compression:260+ pages of detailed explanationsBeginner to ProGraphic illustrationsSecret techniques used by ...
View full detailsOriginal price $199.99Original price $199.99 - Original price $199.99Original price $199.99Current price $125.00$125.00 - $125.00Current price $125.00Save 37% -
EQ Masterclass
Original price $100.00 - Original price $100.00Original price$100.00$100.00 - $100.00Current price $100.00Beginner to Pro lessons Everything you don't understand about Equalization is explained through 5h+ long Masterclass split in 28 well edited video...
View full detailsOriginal price $100.00 - Original price $100.00Original price$100.00$100.00 - $100.00Current price $100.00


