Use Inflator Like A Pro
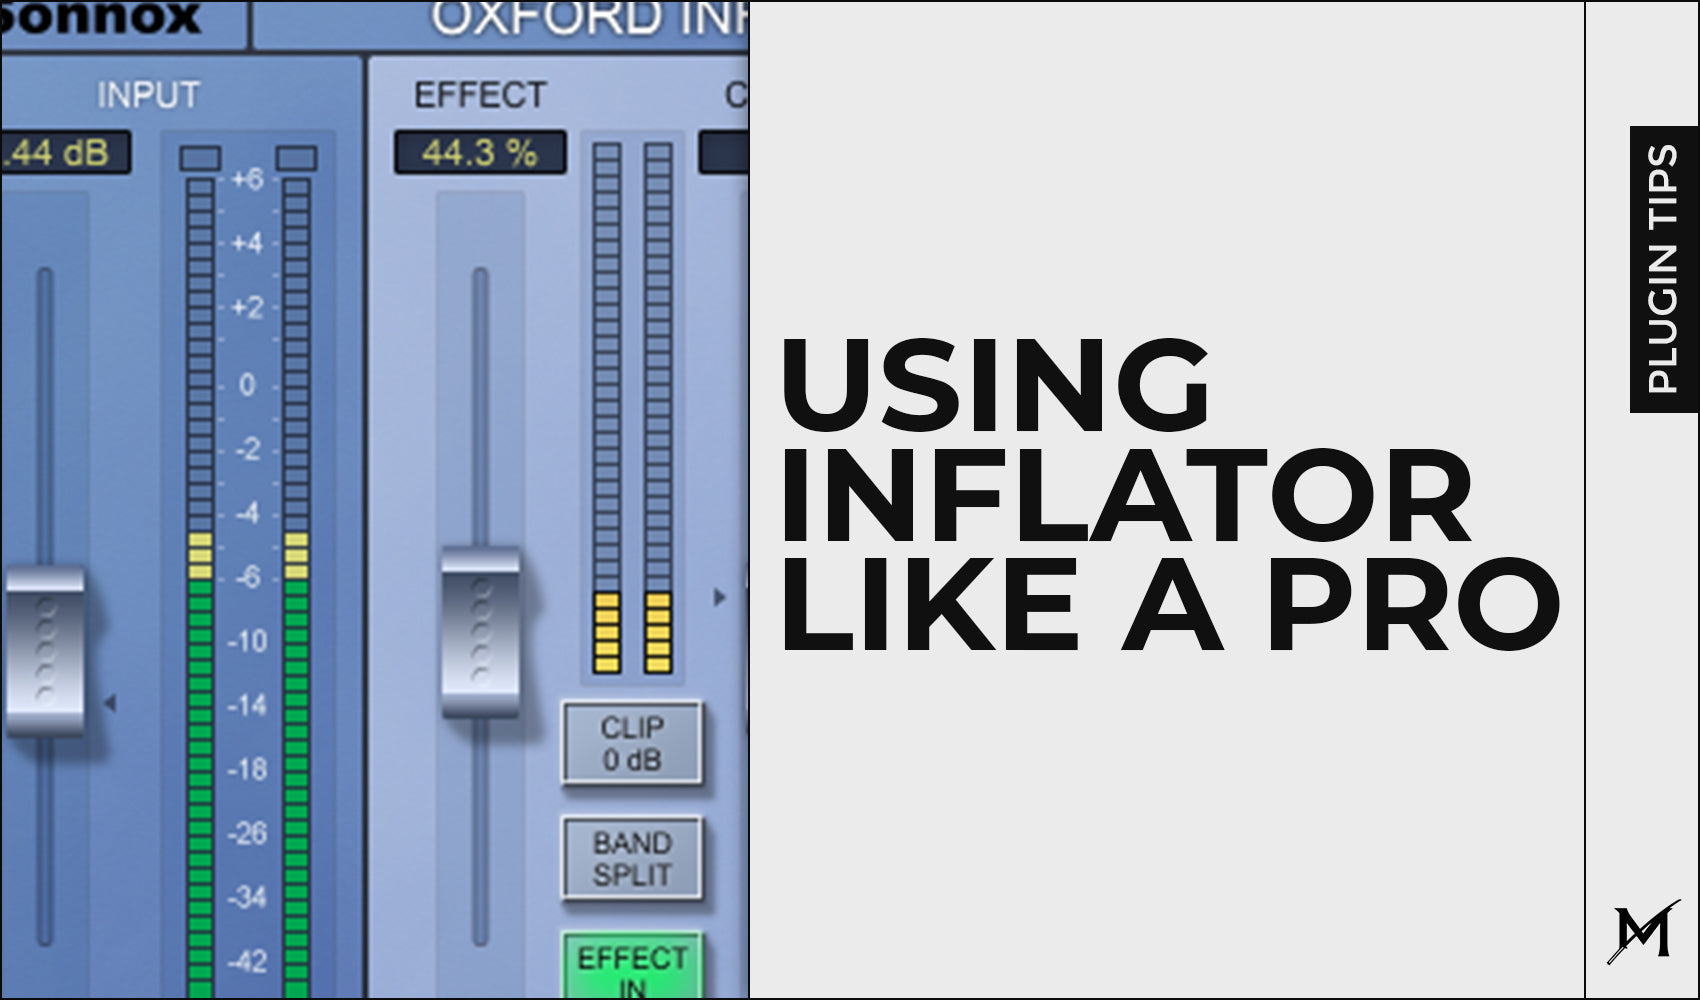
When it comes to upward processing, the first processor that usually comes to our mind is the legendary plugin by Sonnox named Oxford Inflator. But, how can we use it to get the most out of it?
In this blog post, my goal is to explain the process of using this type of upward processor in the way of achieving the most out of it. Besides being just an upward processor, Inflator also introduces a very interesting sound, so that's another thing that separates it from the rest of the plugins out there on the market.
Please avoid copying any strict values you see in this blog post because every single instrument/vocals/mix/master is different and will require different treatment.

Enhancing drums using Inflator

Upward Processing on drums
Huge Kick using Inflator

Ever used Inflator on the kick? Try it!
As mentioned above in this blog post, Inflator is great for bringing quieter parts of an audio signal up, so that's why I used it as my maximization tool for reaching the desired punch on the kick.
Increase the effect, play with the curve in order to determine the right amount of saturation you want and finally match the input & output gain. Try doing this in parallel too! Inflator sounds amazing when used as a parallel processing effect, and not many people know that.
Upfront Vocals using Inflator

The combination of compression & inflator is insane!
Better Translation using Inflator

Make sure to choose a Linear Phase mode!!!
More Presence using Inflator

Try using Inflator on your guitars too!
Mastering using Inflator

Can you use Inflator in mastering? Yes, you can.
Sonnox Oxford Inflator: Starting Points

Remember to tweak these settings to your taste.
Conclusion:
Using Inflator is, as you can see, very simple and straight forward. All you need is some basic knowledge of what each fader does and to recognize where you actually want to use it. It's a great tool, and I can fully recommend it to anyone. Since this is not a sponsored blog, you already know how much I love Inflator and that I'm using it in almost every single mix of mine. Such a great tool to have!If you want to add a recommendation for the future blog post and get featured on, feel free to reach to our DM on Instagram or use our e-mail address: marko@md3sign.com
Learn more from our best-sellers!
-
Pro C2 Presets Pack
Original price $34.99Original price $34.99 - Original price $34.99Original price $34.99Current price $17.50$17.50 - $17.50Current price $17.50Presenting long-awaited "Pro C2 Presets Pack" - The Exceptional FabFilter Pro C2 presets to completely change the way you approach dynamics treatme...
View full detailsOriginal price $34.99Original price $34.99 - Original price $34.99Original price $34.99Current price $17.50$17.50 - $17.50Current price $17.50Save 50% -
Saturn 2 Presets Pack
Original price $34.99Original price $34.99 - Original price $34.99Original price $34.99Current price $17.50$17.50 - $17.50Current price $17.50Presenting "Saturn 2 Presets Pack" - The Mind-Blowing FabFilter Saturn 2 presets to completely change the way you approach saturation on your mixes...
View full detailsOriginal price $34.99Original price $34.99 - Original price $34.99Original price $34.99Current price $17.50$17.50 - $17.50Current price $17.50Save 50% -
Presets Bundle
Original price $140.00Original price $140.00 - Original price $140.00Original price $140.00Current price $64.99$64.99 - $64.99Current price $64.99This Bundle Deal includes: Pro C2 Preset PackSaturn 2 Preset PackPro MB Preset PackEQ Preset Pack
Original price $140.00Original price $140.00 - Original price $140.00Original price $140.00Current price $64.99$64.99 - $64.99Current price $64.99Save 54% -
EQ + Compression Bundle
Original price $199.99Original price $199.99 - Original price $199.99Original price $199.99Current price $125.00$125.00 - $125.00Current price $125.00This Bundle Deal includes: The Art Of Compression:260+ pages of detailed explanationsBeginner to ProGraphic illustrationsSecret techniques used by ...
View full detailsOriginal price $199.99Original price $199.99 - Original price $199.99Original price $199.99Current price $125.00$125.00 - $125.00Current price $125.00Save 37% -
EQ Masterclass
Original price $100.00 - Original price $100.00Original price$100.00$100.00 - $100.00Current price $100.00Beginner to Pro lessons Everything you don't understand about Equalization is explained through 5h+ long Masterclass split in 28 well edited video...
View full detailsOriginal price $100.00 - Original price $100.00Original price$100.00$100.00 - $100.00Current price $100.00


