6 Pro Vocal Mixing Tips
Vocal mixing is art, and in order to master the art of vocal mixing, you need to practice and dedicate your time into it. That's why I'm here to share with you my 7 Pro Vocal Mixing Tips!
In this blog, my goal is to mention 7 tips for vocals that I usually find myself applying in my and my clients' projects which you might find very helpful for your projects.

Tip 01: Mid/Side EQ Hack
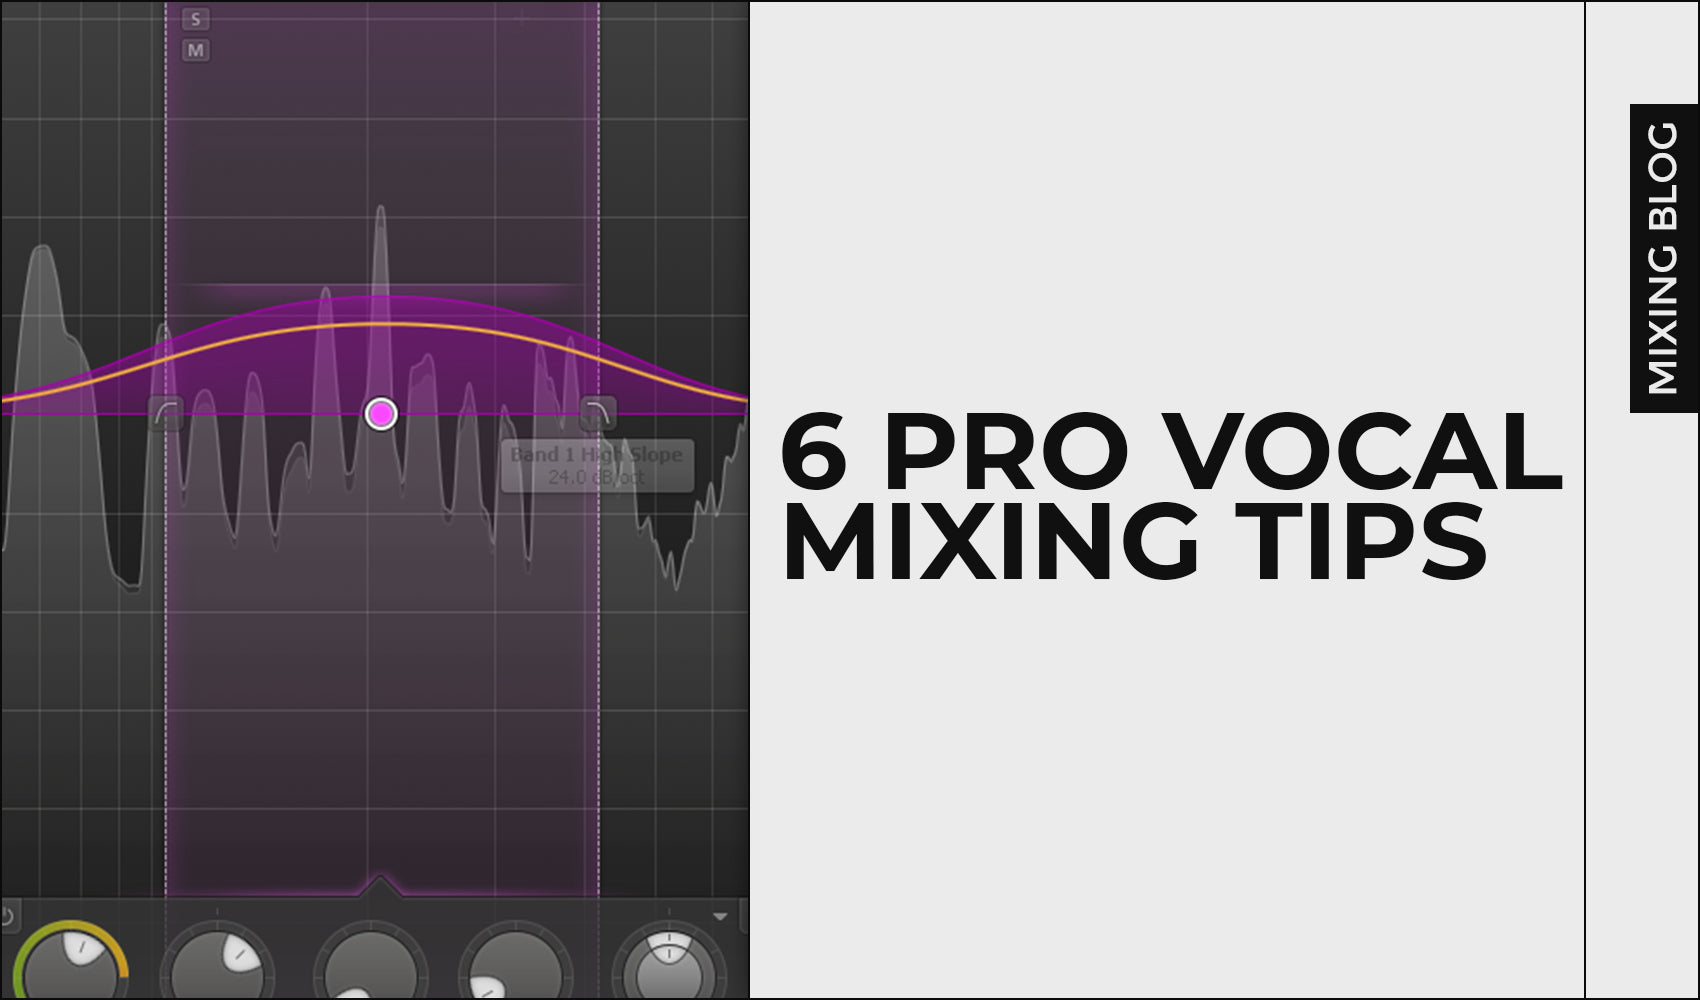
To make vocals cut through the mix, boost with your Mid channel while attenuating at the same frequency using Side channel. This will create a perception of your vocals being more audible and upfront in the mix overall.
This particular trick works great around 2kHz (in my case), but feel free to experiment around that value. Take it as your starting point since not every vocal is the same.
It's also highly important to do this very subtly since you don't want to drastically affect the vocals around this frequency range since that can cause problems.

Tip 02: Placing Them Upfront
If you want listeners to be excited about the song and if you want to actually keep their attention, you need to make sure your vocals are sounding upfront in the mix.
A great way to achieve that is through compression.
Using fast attack and release, 4:1 ratio, softer knee and 1-2ms of lookahead, you'll be able to push the vocals a bit upfront in the mix. In terms of gain reduction, 4-6dB or even 7dB can be very helpful for this particular purpose.
Bonus tip: If you're using FabFilter Pro C2, try engaging Vocal Algorithm since it performs marvelously well on vocals, as it's meant to be.

Tip 03: Vocals Expansion
This is not quite a "mixing" tip, but still worth knowing!
In mastering, we can make the vocals sounding a bit more upfront using expansion. An ideal situation would be to return the track to the client in order to fix the problem, but sometimes that's not possible due to various reasons.
Using Pro MB, engage expansion around the mid-range which'll help the vocals to stand out a bit more.
How to engage expansion? Select the frequency band you want to affect, select expand mode and give positive range. Now, make the attack and release fast. Now, carefully tweak the threshold & range until you're satisfied with the result.

Tip 04: Bright, Not Harsh Vocals
Using an EQ to introduce brightness is helpful... but that can also introduce harshness depending on the vocals you're working with.
If you're in the case where the vocals sound harsh when you apply boosts on the top end, try first using a de-esser or any multiband compressor before your EQ which is going to compress the harsh area, so when you amplify for brightness with your EQ, that frequency range won't become harsh.
Just make sure you're not de-essing too much since that can make your vocals sound unnatural, and for the result you won't apply the change that'll benefit the performance of your vocals.

Tip 05: Asymmetry Fix
Asymmetrical waveforms can usually cause trouble on vocals.

Tip 06: Smooth Vocals
- Ratio between 3:1 & 4:1
- Medium attack
- Medium release
- Gain reduction to taste
- Matched Input & Output gain
This helped to smooth out the vocal while keeping it very consistent. Don't stick to strict values. Instead, use them as your starting point and tweak from there. The settings I listed worked well for my vocals which might not be the exact case for your vocals. Experiment.

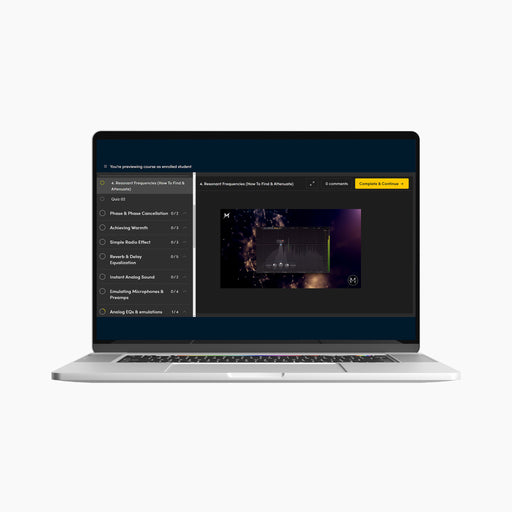
With EQ MASTERCLASS you will:
- Learn all the necessary fundamentals of music equalization
- Understand why is equalization important
- Learn how to use equalization as your biggest weapon for powerful mixes
- Attend Beginner to Pro lessons (5+ hours of video content)
- Test your knowledge after each lesson through quizzes
- Learn advanced EQ tricks used by pros
- Receive unique EQ presets made during the classes
- Receive 160+ pages EQ Book
Learn more from our best-sellers!
-
Pro C2 Presets Pack
Original price $34.99Original price $34.99 - Original price $34.99Original price $34.99Current price $17.50$17.50 - $17.50Current price $17.50Presenting long-awaited "Pro C2 Presets Pack" - The Exceptional FabFilter Pro C2 presets to completely change the way you approach dynamics treatme...
View full detailsOriginal price $34.99Original price $34.99 - Original price $34.99Original price $34.99Current price $17.50$17.50 - $17.50Current price $17.50Save 50% -
Saturn 2 Presets Pack
Original price $34.99Original price $34.99 - Original price $34.99Original price $34.99Current price $17.50$17.50 - $17.50Current price $17.50Presenting "Saturn 2 Presets Pack" - The Mind-Blowing FabFilter Saturn 2 presets to completely change the way you approach saturation on your mixes...
View full detailsOriginal price $34.99Original price $34.99 - Original price $34.99Original price $34.99Current price $17.50$17.50 - $17.50Current price $17.50Save 50% -
Presets Bundle
Original price $140.00Original price $140.00 - Original price $140.00Original price $140.00Current price $64.99$64.99 - $64.99Current price $64.99This Bundle Deal includes: Pro C2 Preset PackSaturn 2 Preset PackPro MB Preset PackEQ Preset Pack
Original price $140.00Original price $140.00 - Original price $140.00Original price $140.00Current price $64.99$64.99 - $64.99Current price $64.99Save 54% -
EQ + Compression Bundle
Original price $199.99Original price $199.99 - Original price $199.99Original price $199.99Current price $125.00$125.00 - $125.00Current price $125.00This Bundle Deal includes: The Art Of Compression:260+ pages of detailed explanationsBeginner to ProGraphic illustrationsSecret techniques used by ...
View full detailsOriginal price $199.99Original price $199.99 - Original price $199.99Original price $199.99Current price $125.00$125.00 - $125.00Current price $125.00Save 37% -
EQ Masterclass
Original price $100.00 - Original price $100.00Original price$100.00$100.00 - $100.00Current price $100.00Beginner to Pro lessons Everything you don't understand about Equalization is explained through 5h+ long Masterclass split in 28 well edited video...
View full detailsOriginal price $100.00 - Original price $100.00Original price$100.00$100.00 - $100.00Current price $100.00


